So you think you’ve mastered your Phone’s camera? While seasoned photographers might have a deep grasp of the settings, many are still on the journey of discovering the full potential of iPhone (Android) photography. If you’re aiming to elevate your digital branding game with better brand photography, this guide will unveil some iPhone camera tricks to enhance your photos. While this blog is catered to iPhone users, if you have an android, check out this website for optimal Android camera settings.
Understand Your Device
iPhone: iPhones, renowned for their user-friendly camera interface, offer options like Photo, Video, Portrait, Pano, and more, depending on the model.
Android: While Android devices vary by manufacturer, most have a similar camera interface with options like Photo, Video, Portrait, and more.
Camera Settings Before Shooting:
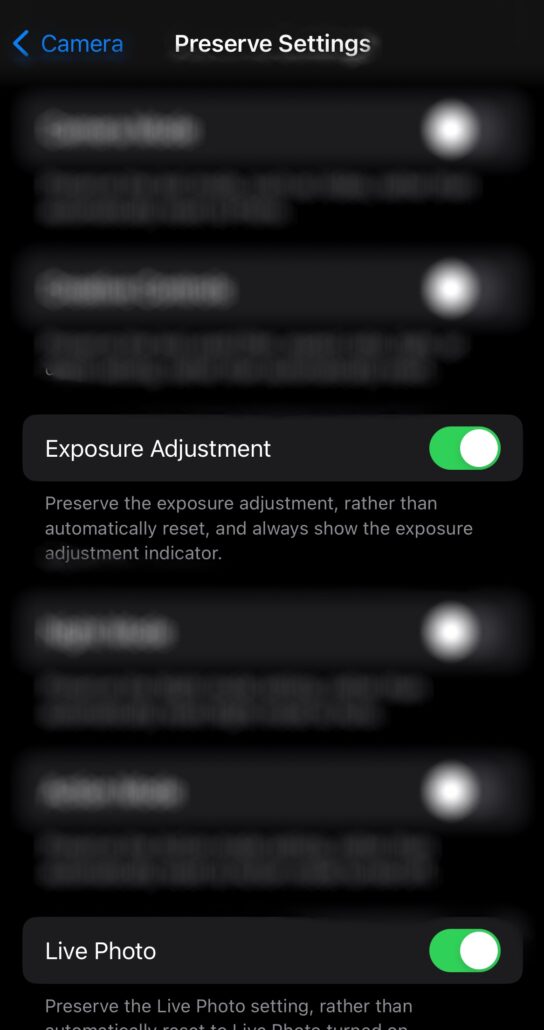
Ever had that perfect filter or mode that just gets lost every time you launch your camera? It’s a tad annoying, right? Instead of reconfiguring every time, set your iPhone to remember your preferences. Dive into Settings > Camera > Preserve Settings. Here, you’ll find a buffet of options like Camera Mode, Creative Controls, and more. Apple even drops in some handy descriptions for clarity.
iPhone Camera Settings for Photos:
The resolution for photos primarily depends on the iPhone model. For instance:
iPhone 8 and earlier: 12 MP (4032 x 3024 pixels)
iPhone X to iPhone 11 Pro Max: 12 MP (4032 x 3024 pixels)
iPhone 12 and later: 12 MP (4000 x 3000 pixels) for the main wide camera, but the Pro models also have additional lenses with varying resolutions.
The best resolution for photos is typically the highest resolution your iPhone model offers.
However, our eyes sometimes can not take such high-resolution, so this topic is subjective to the style of the person who’s capturing footage. Moreover, your photo/video settings should be set to 1080p or Higher. This ensures you capture the most detail, which is especially useful if you plan to print the photos or crop them later.
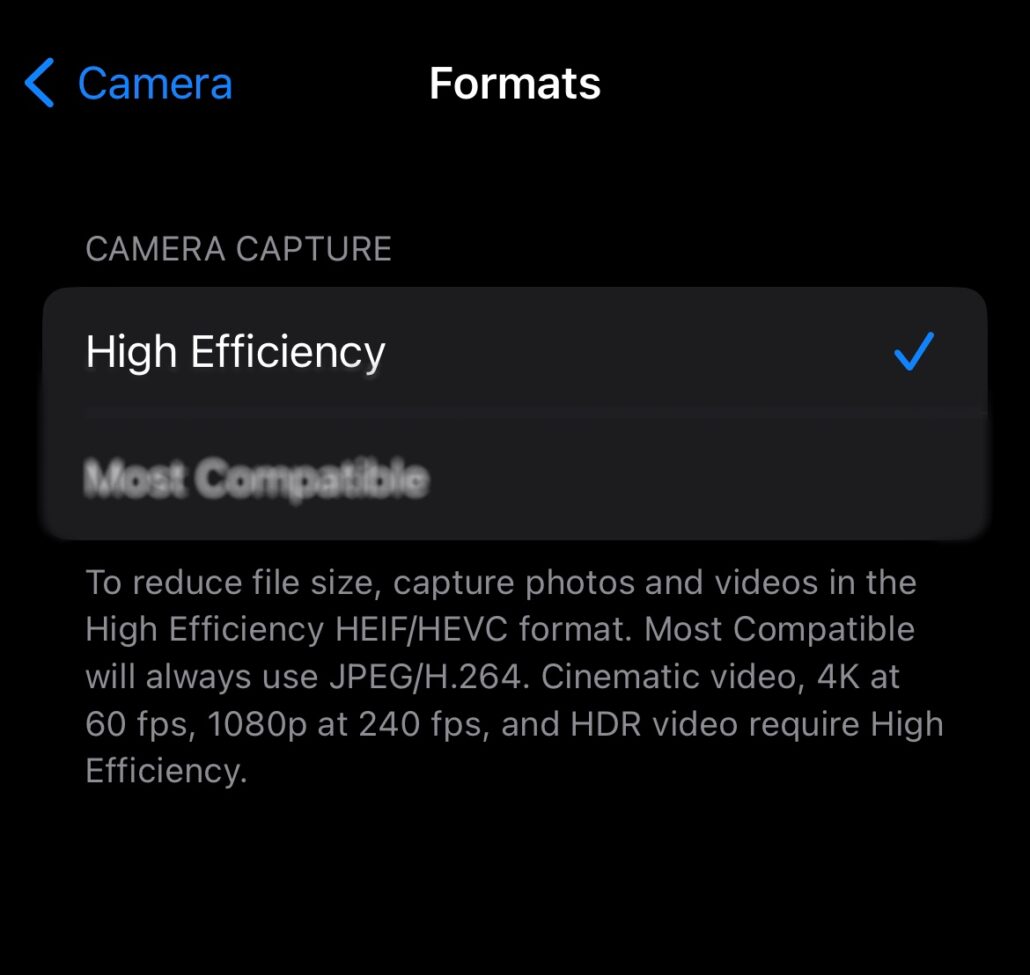
Go to Camera>Formats> and make sure High Efficiency is enabled
iPhone Camera Settings for Videos:
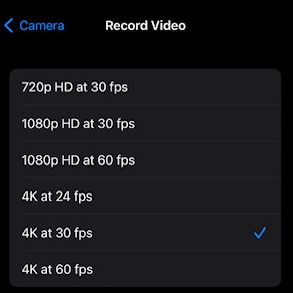
Resolution & Frame Rate: iPhones offer various video resolutions and frame rates. Here’s a breakdown of the common settings:
720p at 30 fps: This is considered HD. It’s the lowest resolution and is suitable for smaller files and quick sharing.
1080p at 30 fps: This is Full HD. It offers a good balance between quality and file size, suitable for most general purposes.
1080p at 60 fps: This is also Full HD but at a higher frame rate, making the video smoother. It’s great for capturing fast-moving subjects.
4K at 24 fps: This is Ultra HD with a cinematic look due to the 24 fps frame rate.
4K at 30 fps: Standard Ultra HD quality, offering crisp details.
4K at 60 fps: Ultra HD with a high frame rate, ensuring ultra-smooth video playback.
For most users, 1080p at 30 fps is sufficient, offering high quality while keeping file sizes manageable. However, if you’re aiming for professional-quality videos or plan to do post-production editing, 4K is the way to go.
To change video resolution and frame rate:
Go to Settings on your iPhone.
Scroll down and select Camera.
Tap on Record Video.
Choose your preferred resolution and frame rate.
Activate On-Screen Gridlines
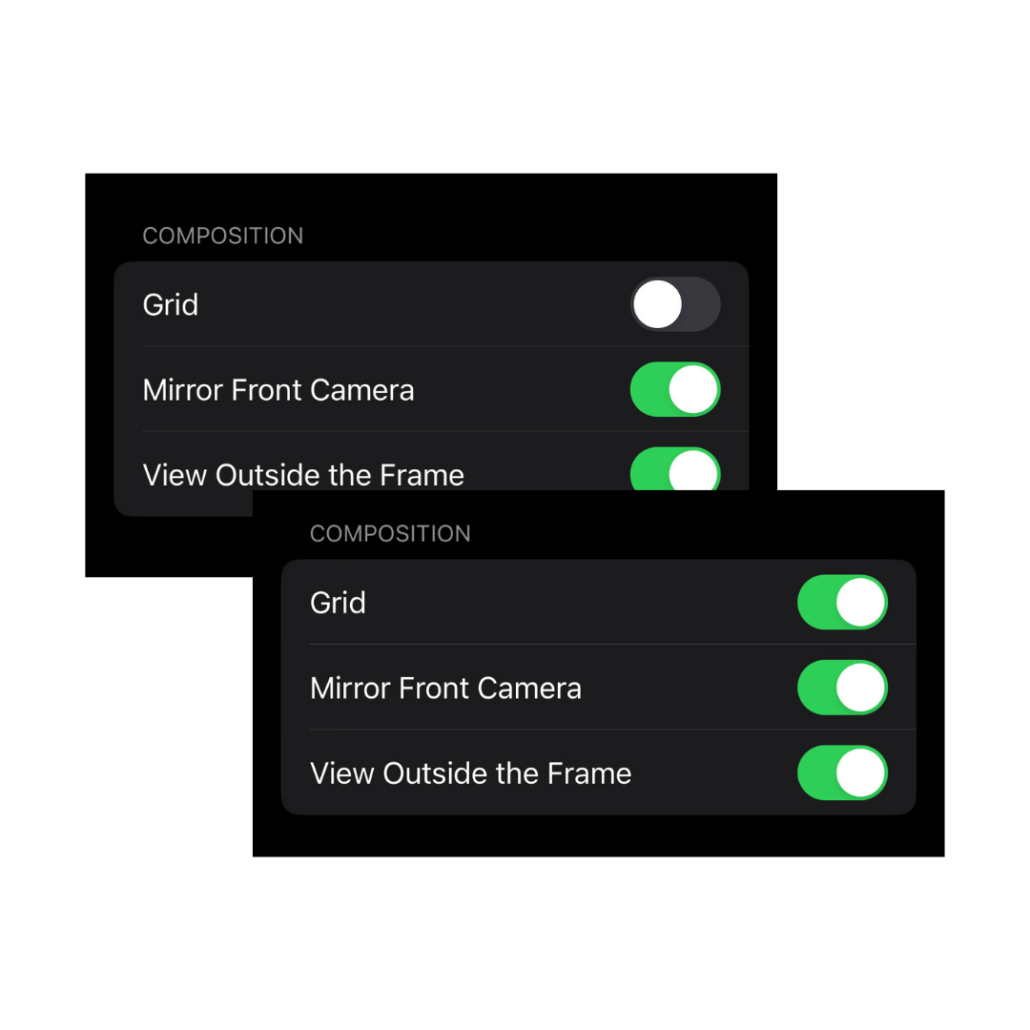
The rule of thirds is a photographer’s best friend. It’s a classic technique where you position your shot’s subject at the intersections of a 3×3 grid. To truly harness this, you’ll want an on-screen grid. This not only aids in positioning but ensures horizons are straight and structures stand tall. Flip this on by heading to Settings > Camera and switching on the Grid.
Best Angles for Captivating Shots:
Eye Level:
What it is: This is when you hold the camera straight in front of your face, just like when you look at something directly.
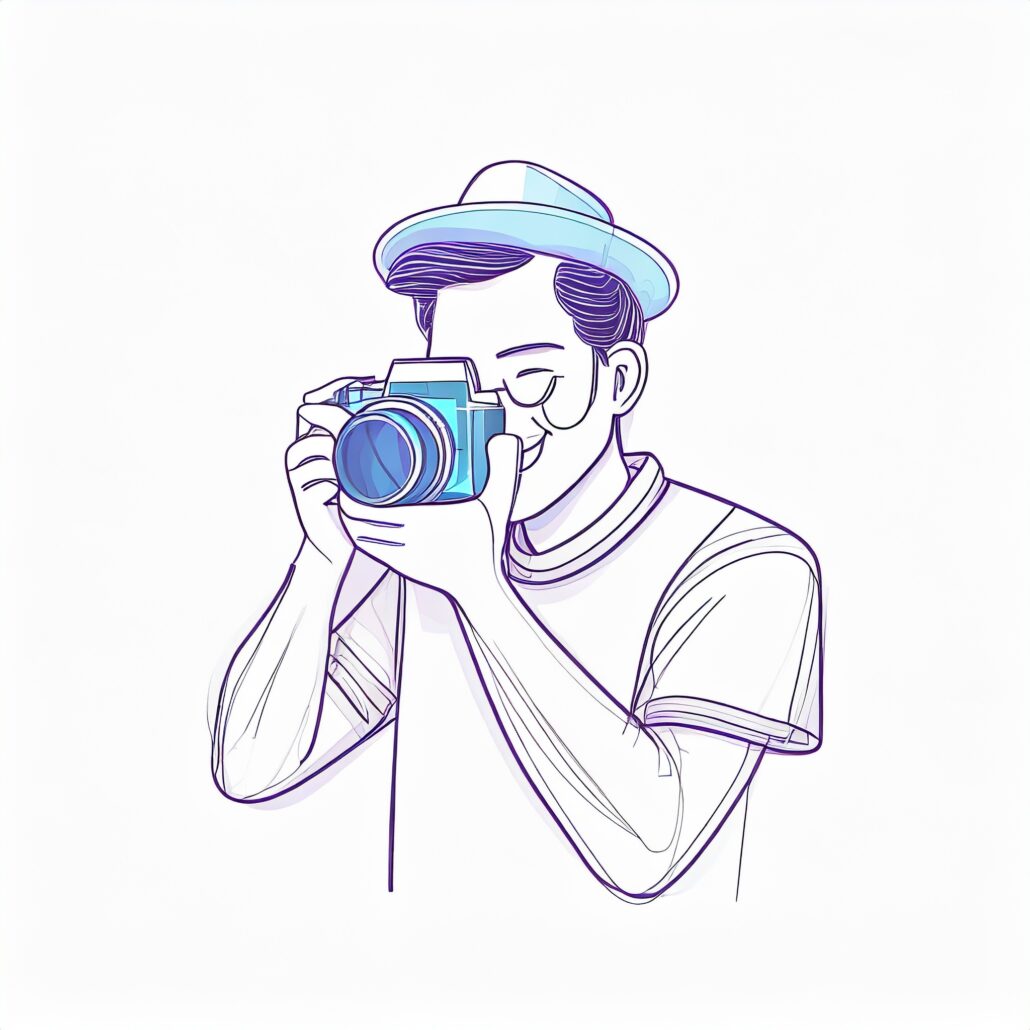
How to do it: Hold the camera at the same height as your eyes or the eyes of the person or toy you’re photographing. It’s like you’re having a face-to-face chat with them. This is great for taking pictures of your friends or even a selfie!
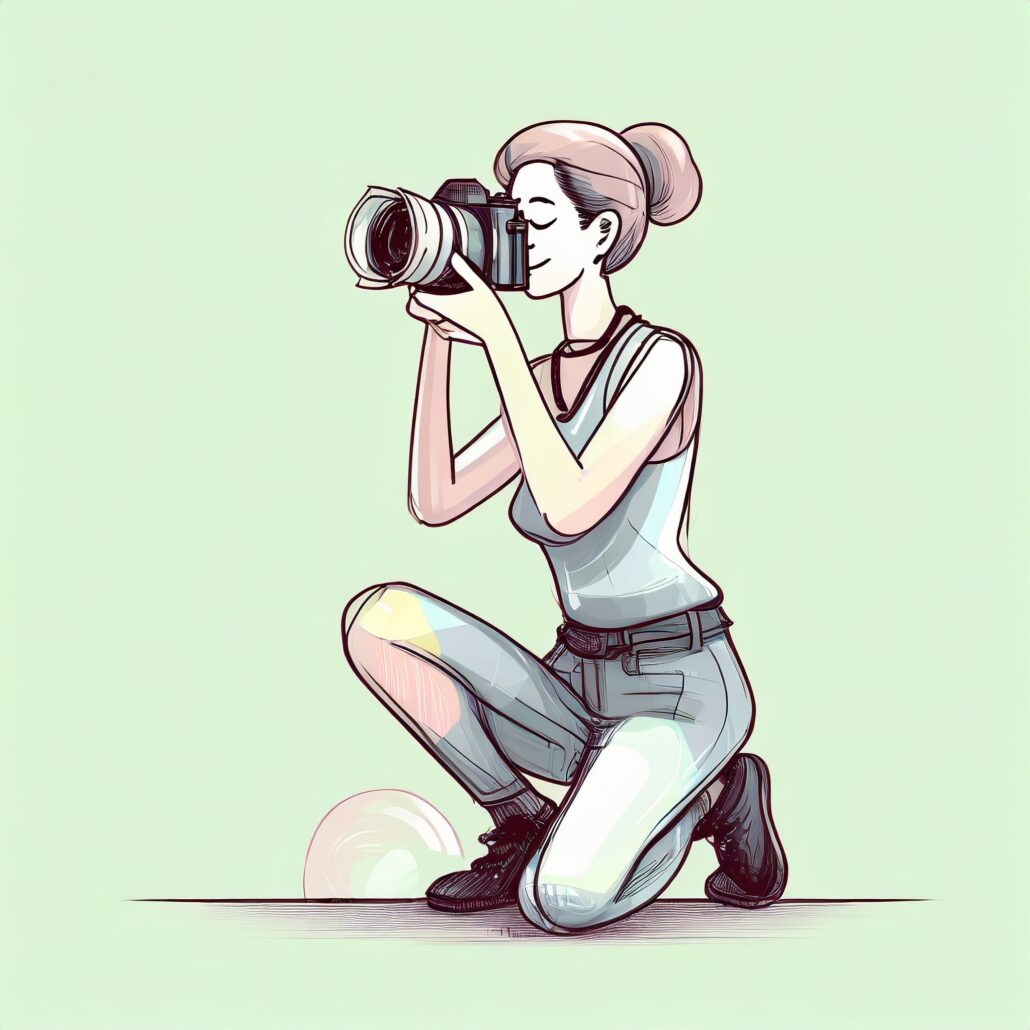
Low Angle:
What it is: This is when you hold the camera down low, looking up at something. It can make things look big and powerful, like how a toy might look to an ant.
How to do it: Kneel or sit on the ground and point your camera up at the person or thing you want to photograph. It’s like you’re a tiny mouse looking up at a big cat!
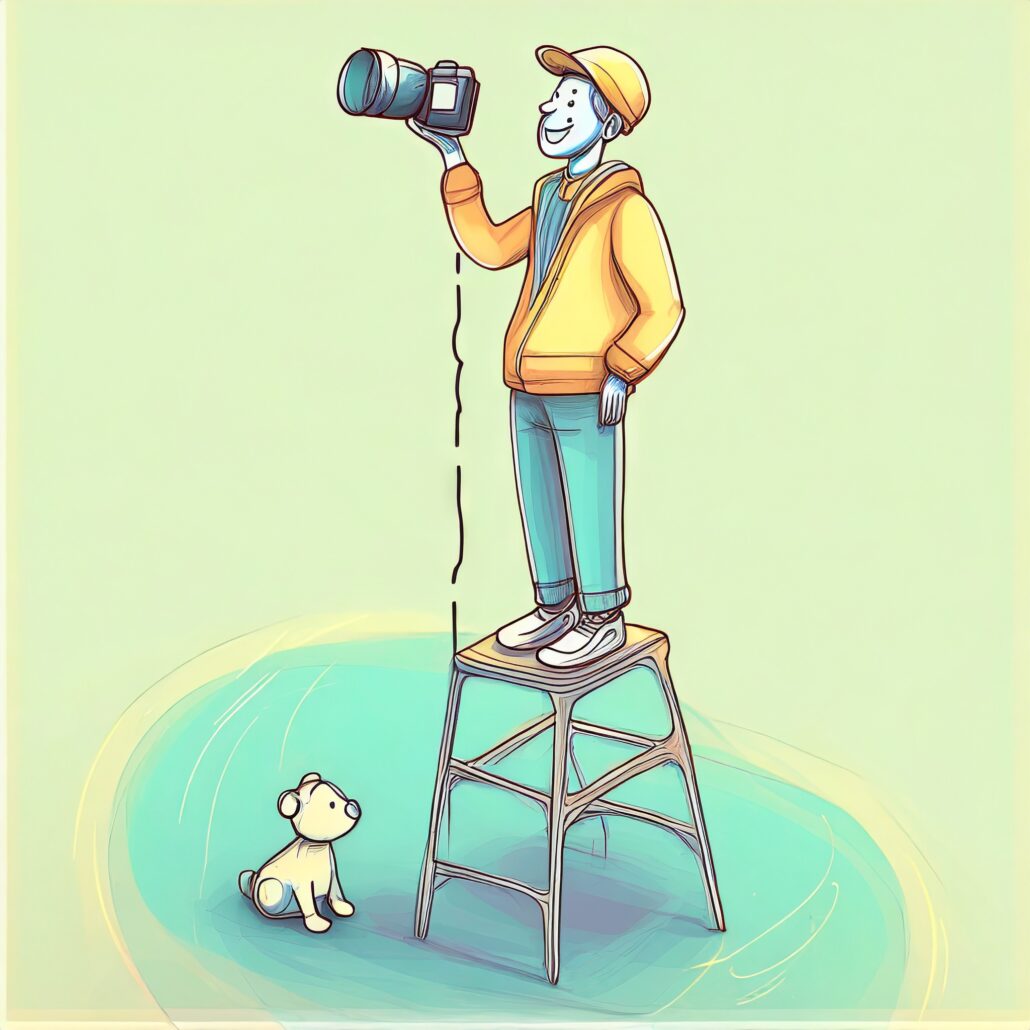
High Angle:
What it is: This is the opposite of the low angle. You hold the camera up high, looking down at something. It can make things look cute and small, and it’s a fun way to take selfies.
How to do it: Stand on something safe like a step or a chair, or just hold the camera high above your head, and then point it down at what you want to take a picture of. It’s like you’re a bird looking down from a tree!
Dutch Angle:
What it is: This is a fun and quirky angle where you tilt the camera to the side a little. It can make the picture feel like something exciting or mysterious is happening.
How to do it: Hold the camera normally, then tilt it a little to the left or right, like you’re tilting your head when you’re curious about something. But remember, don’t use it too much, or your pictures might start to feel dizzy!
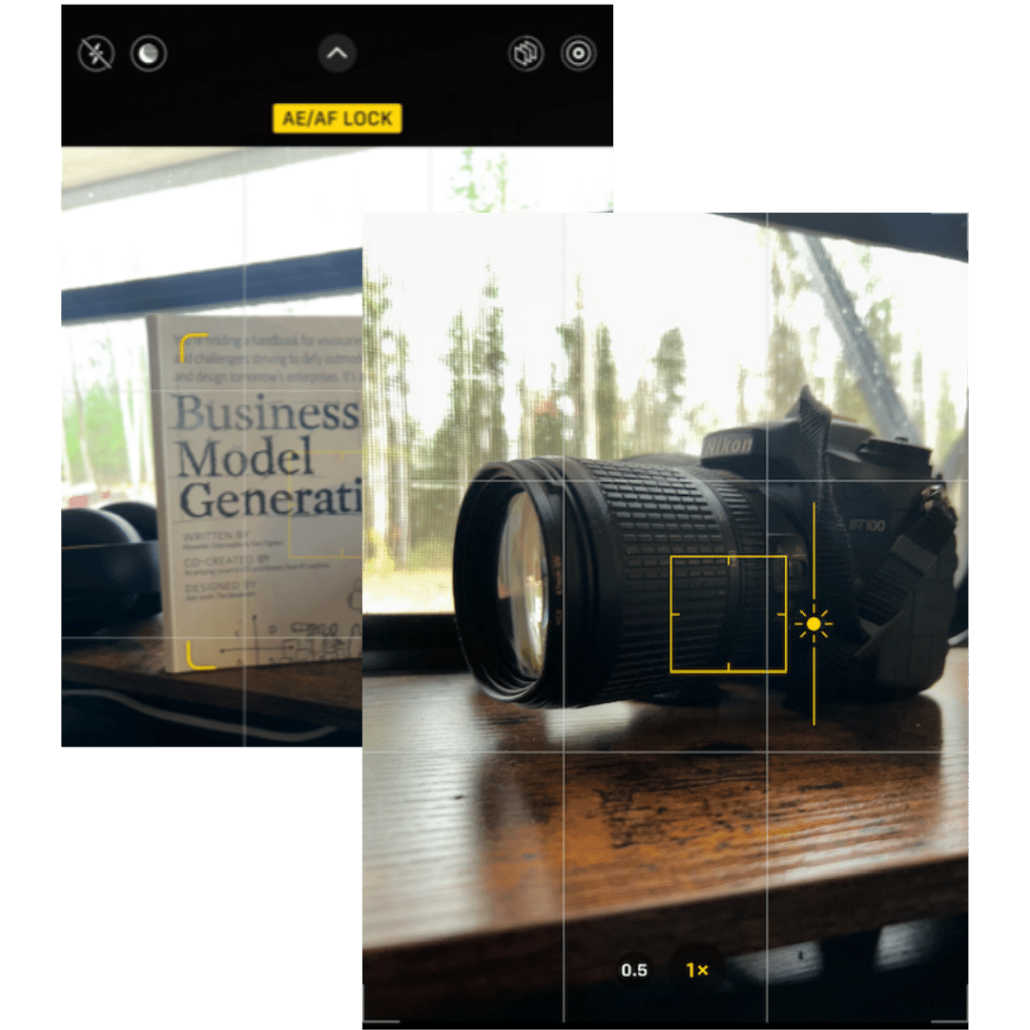
Take Control with Focus & Exposure
To truly stand out in smartphone photography, mastering focus and exposure is key. While exposure dictates the light intake, focus sharpens your image. On your iPhone, you can lock both. This grants you more creative freedom without the app second-guessing you. To set this, open the Camera, tap and hold on your desired focus point, and voila! The AE/AF Lock banner appears.
Play with Image Dimensions via Aspect Ratios
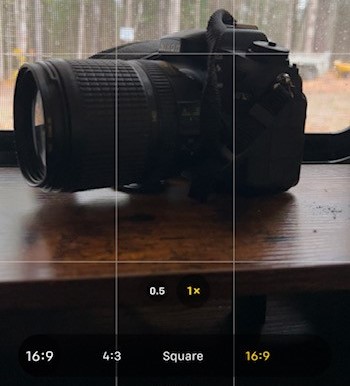
Aspect ratio, in layman’s terms, is the shape of your photo. Your iPhone offers a trio: 4:3, Square, and 16:9. If you’re crafting content for platforms like Instagram, the Square might be your go-to. Shooting in your desired ratio not only saves editing time but gives you a real-time preview.
Begin Capturing Quality Photos
With these tips in your arsenal, you’re well on your way to producing captivating content for your Instagram Reels, Youtube Shorts, and TikTok endeavors. Remember, the magic lies in experimentation. So, explore, practice, and watch your visual content game soar. If you’d like an in-person photo taking session, or you’d like to discuss more about different ways you can increase your brand awareness through social media, give us a call!